
Browse
Files, journal, accounts, and filters. Browse the ledger
This guide creates a BeanHub account, a sample book, and opens the journal. You do not need to know Beancount yet. Read What is BeanHub if you want the model first.
Open https://app.beanhub.io/sign-up.
a-z, 0-9, _ only).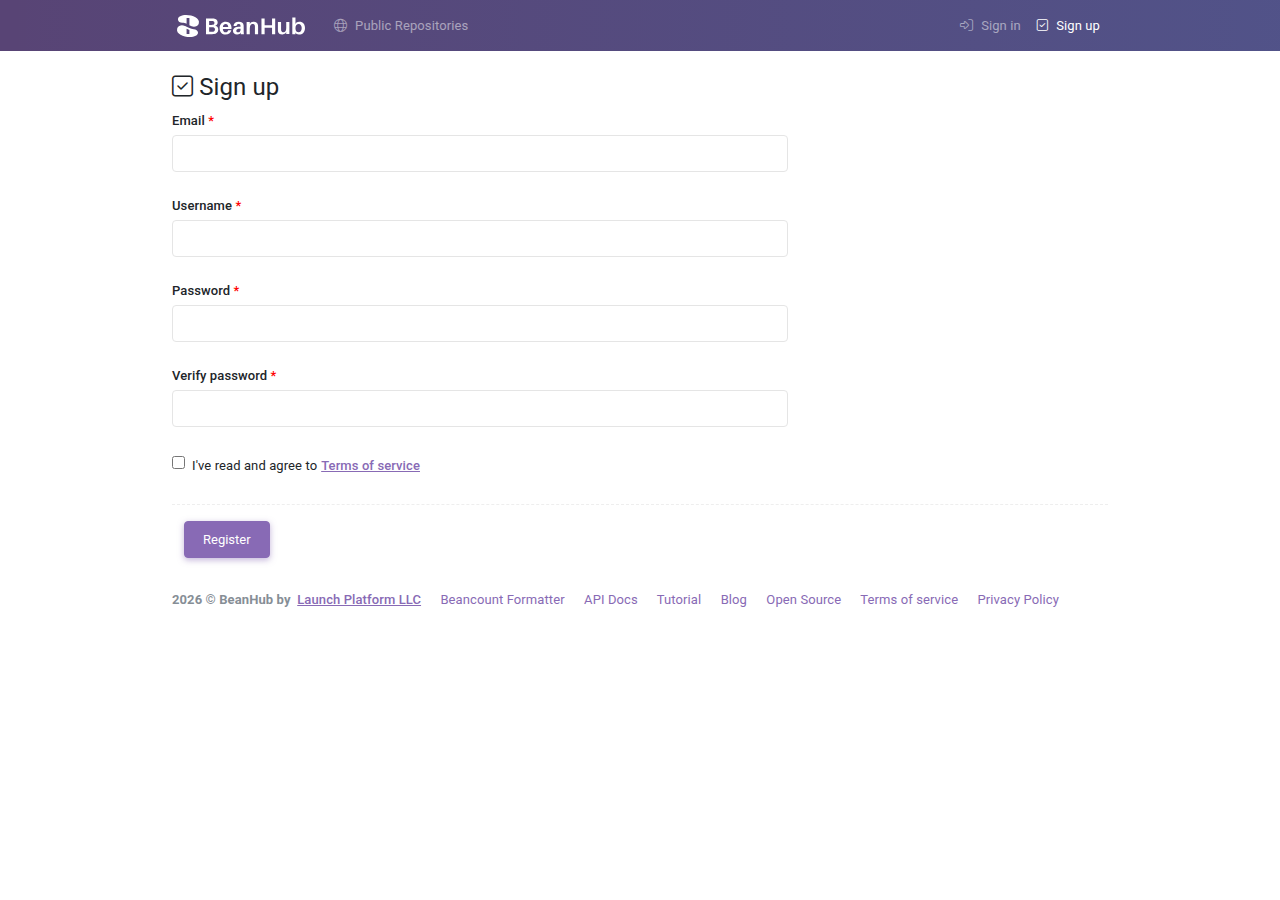
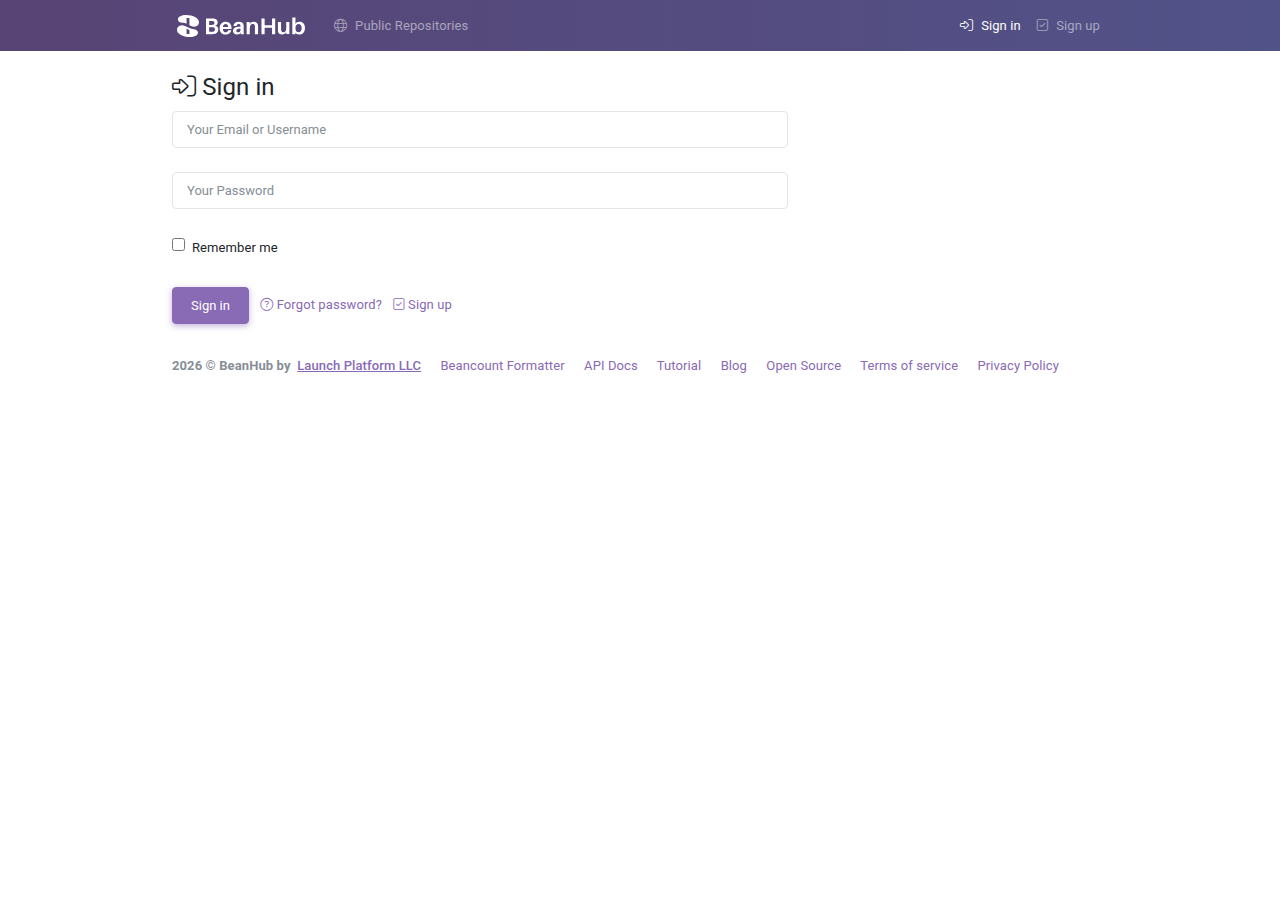
Already have an account? Sign in at https://app.beanhub.io/sign-in with email or username and password.
The free plan includes:
See pricing and Limits and plans.
After sign-in you land on My Repositories. Click Create Repository.
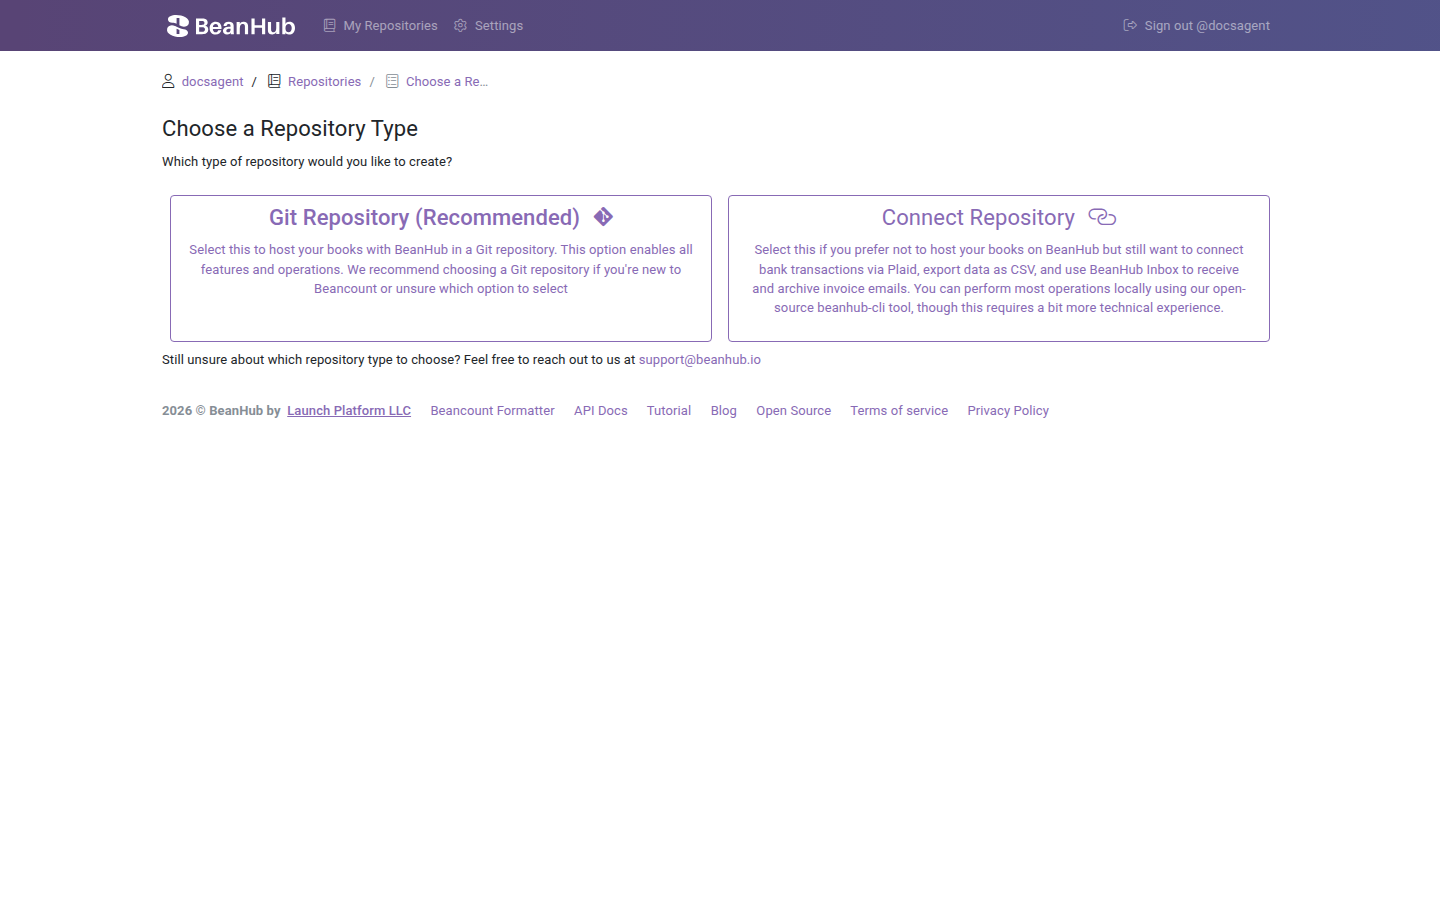
Choose Git Repository (Recommended). Then:
mybook.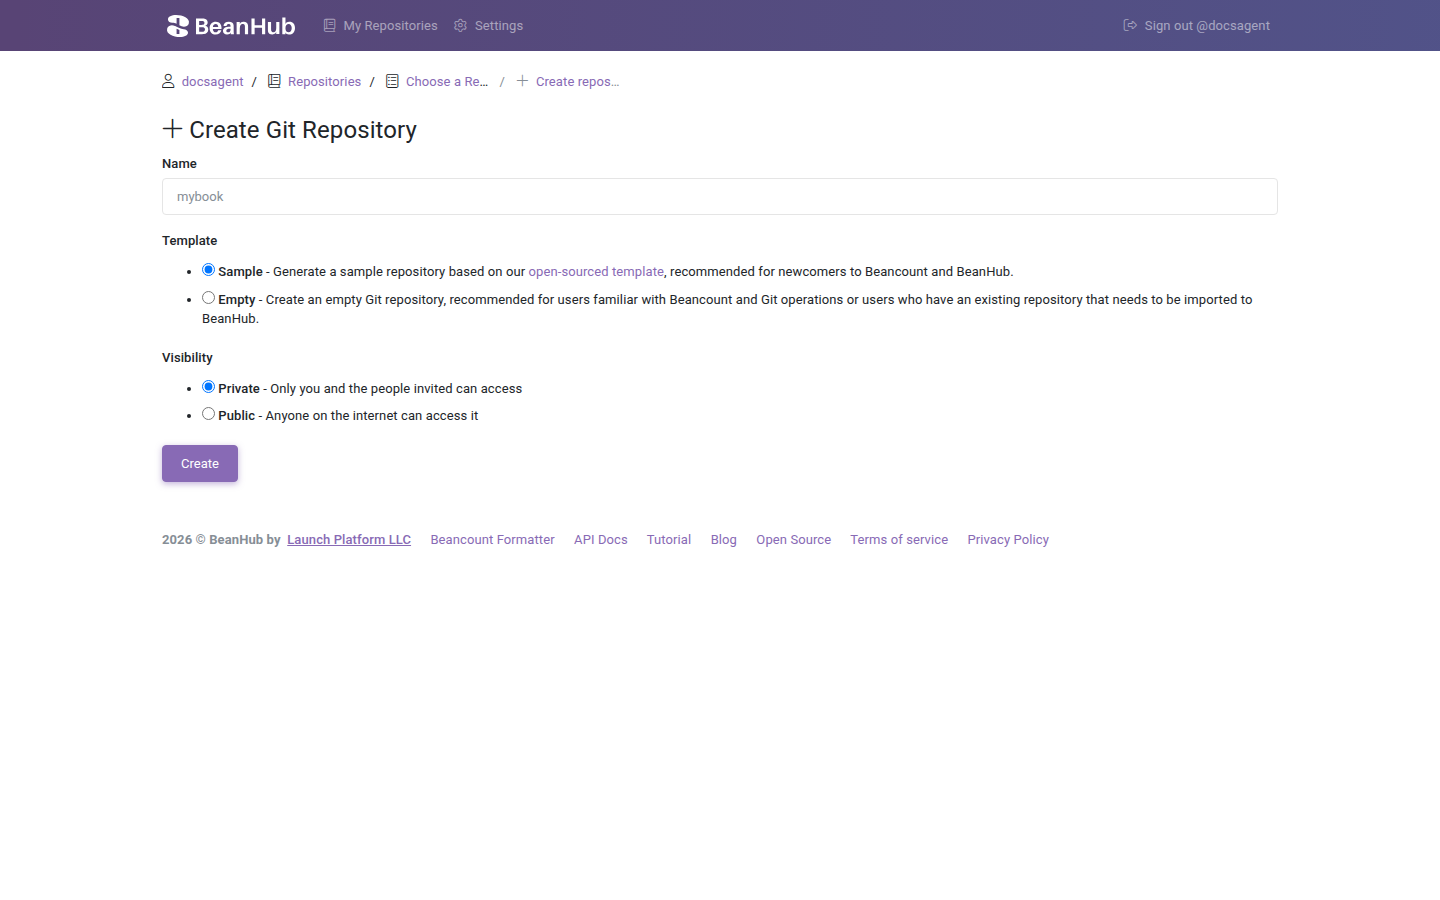
Creating a sample book runs Git and Beancount in a sandbox. It can take a short while. If the page errors, wait and refresh My Repositories.
Click the new repository name. The home page shows the file tree (main.bean, accounts.bean, books/, .beanhub/) and the README.
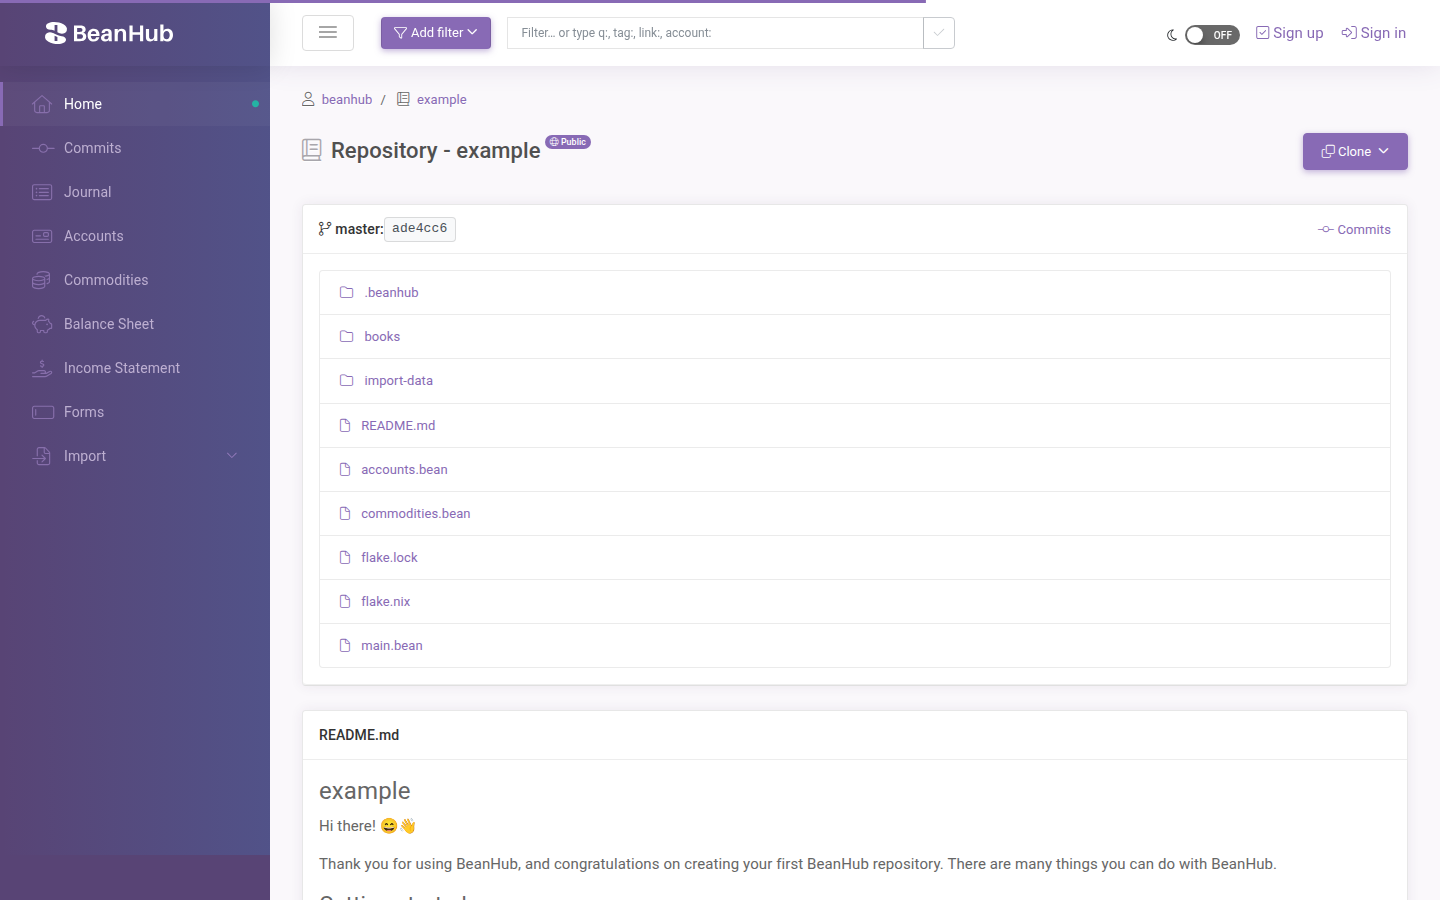
The screenshot is the public example book. A sample book you create looks the same, with your username and repo name in the breadcrumb.
Left sidebar (Git books):
Click Journal. You should see sample transactions from the template.
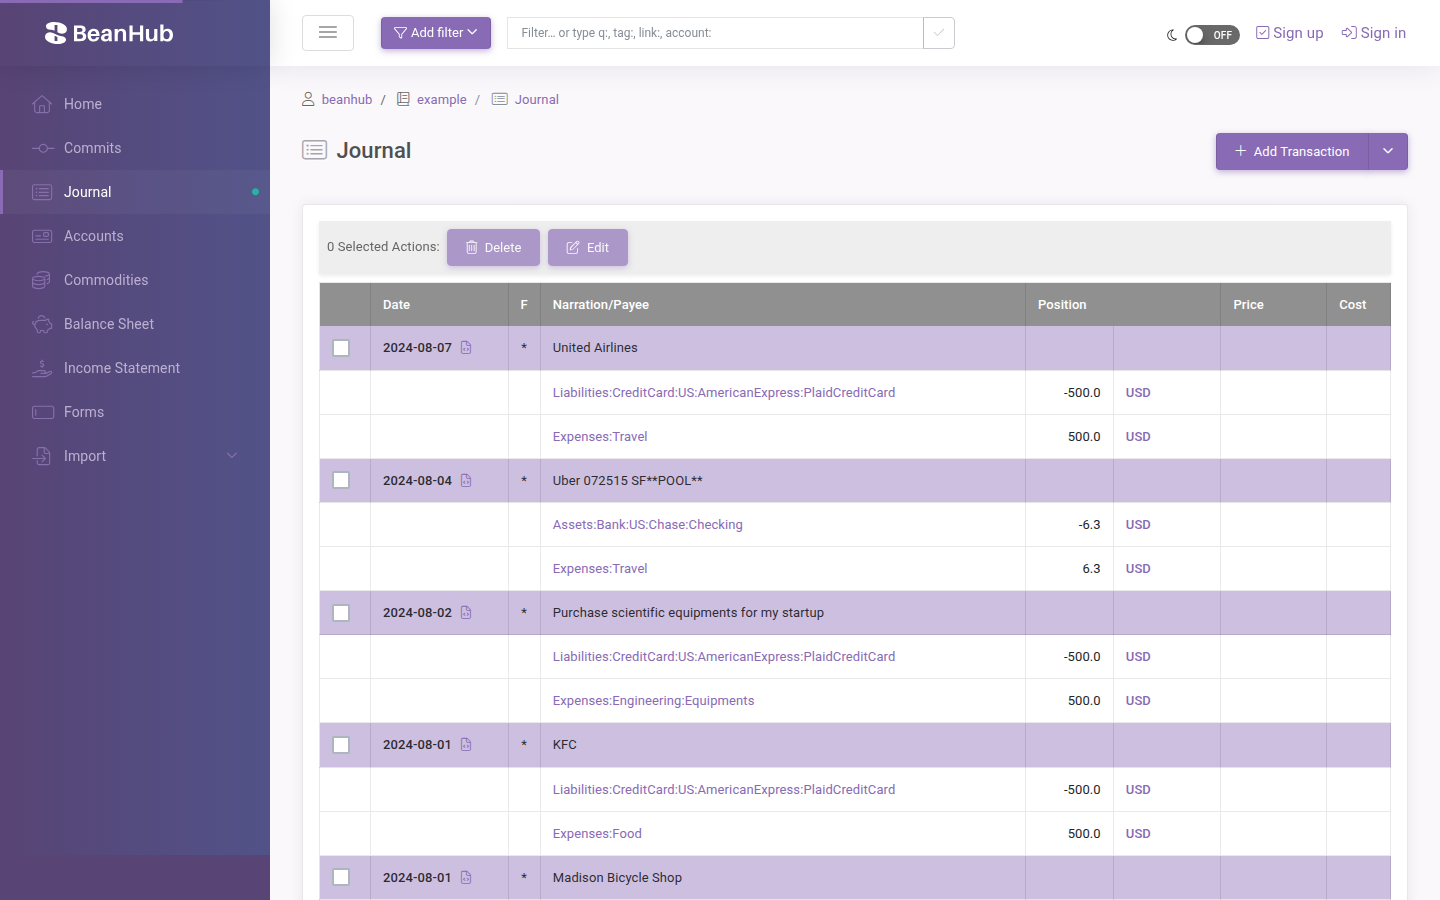
Use Add filter in the header to limit the date range (this month, this year, custom range).
You need an access token with Git read (and write, if you will push).
git clone https://app.beanhub.io/repos/USERNAME/mybook.gitWhen Git asks for a password, paste the token. The username field can be your BeanHub username. Full detail: Git over HTTPS.
Browse
Files, journal, accounts, and filters. Browse the ledger
Edit
Add a transaction, edit entries, rename an account, see the commit. Edit and commit
Import
Upload the sample CSV and run import rules. Import transactions
Reports
Balance sheet and income statement. Reports
Connect
Paid: pull bank transactions with Plaid. Connect banks
Inbox
Forward invoices to a dedicated address. Inbox